Scratch & dig inspection
Do you still subjectively inspect optics for surface imperfections such as scratches, wipers, holes, coating defects and chipping? Personal decision! We offer objective quality control with the Savvy Inspector®. The factory-calibrated measurement setup uses fixed illumination and observation optics, as well as proprietary analysis software, to provide a repeatable and documentable assessment of the surface quality of optical components.
Knowledge Base
Especially in the last steps of glass processing, polishing and coating, defects can occur which locally impair the optical image of the glass. These defects are classified as follows:
- General surface imperfection, e.g., scratches, wipe marks and holes
- Coating imperfection/coating defects
- Edge chip
These imperfections are classified in the dimensional method of ISO 10110-7/ISO 14997 by their geometric sizes or in MIL-PRF-13830B by the visibility or appearance of imperfections. Recently, this visibility type of specifications, known as the “scratch and dig” specification, was added to ISO 10110-7/ISO 14997 as well.
Tests for surface imperfections are carried out in practice both by random sampling and by 100 % inspection. The inspection process is usually carried out purely subjectively by an inspector who classifies the imperfection purely visually. In the case of testing according to MIL, the sample is rate according to its appearance by compared with artifact standards (scratch and dig masters) that show the standardized defect of each class to the greatest possible extend.
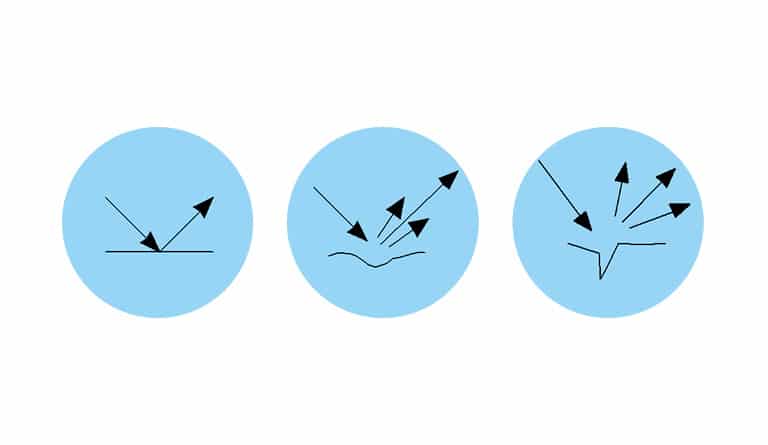
MIL-PRF-13830 describes defects by their visual appearance. The scratch morphology drives its brightness.
Our Newsletter – Your advantage in knowledge
Be one of the first to experience our product novelties and innovative application possibilities.
